For creating a bootable windows 7 pendrive, here are the Pre-requisites.
1. Windows 7 DVD or image.
2. If image available, then tool to mount the image, like "virtual clone drive" or "daemon tools".
3. Pendrive of size greater than the size of windows 7 DVD or image.
Creating Bootable Windows 7 pendrive:-
Step1:-
Open Command prompt with administrative privileges. Goto Start->Accessories->Command Prompt->Run as Administrator
Step 2:-
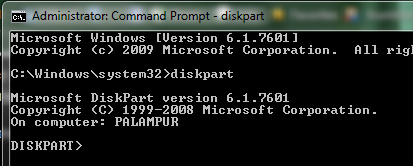
Enter "Diskpart" in command prompt. It will load the diskpart utility in the command prompt.
Step 3:-
Enter the command "List Disk". It will list all the available disks with their numbers. In the diagram below, the number of my USB Drive is 2.
Enter the command "Select disk <disk_no>" where disk_no is the number of the disk. As per the example below, its "select disk 2".
Step 4:-
Now "Clean" the disk. Also make it primary partition. For that fire the command "Create partition primary". Now mark the drive as "ACTIVE" and format it keeping the filesystem to NTFS. See the diagram below:-
Format the partition by entering the command "format fs=NTFS"
Step 5:-
Now assign a name to drive by entering the command "ASSIGN" and then exit from the diskpart utility. Don't close the command prompt.
Step 6:-
Now insert the Windows 7 DVD or mount the image of windows7. Note down the drive name. In my case, my windows 7 DVD Drive is 'K'. So now navigate to K:/boot folder. Also note down the drive letter of the pendrive. In my case, it is 'I'. Now enter the command:-
K:\Boot> bootsect /nt60 I:
(Where I: is the USB/Pen Drive)
Step 7:-
Now copy all the contents of windows 7 DVD to pendrive. You now have a bootable pendrive ready.


No comments:
Post a Comment